Transform Your Space with an IKEA Hack: The Ultimate DIY Arched Bookcase
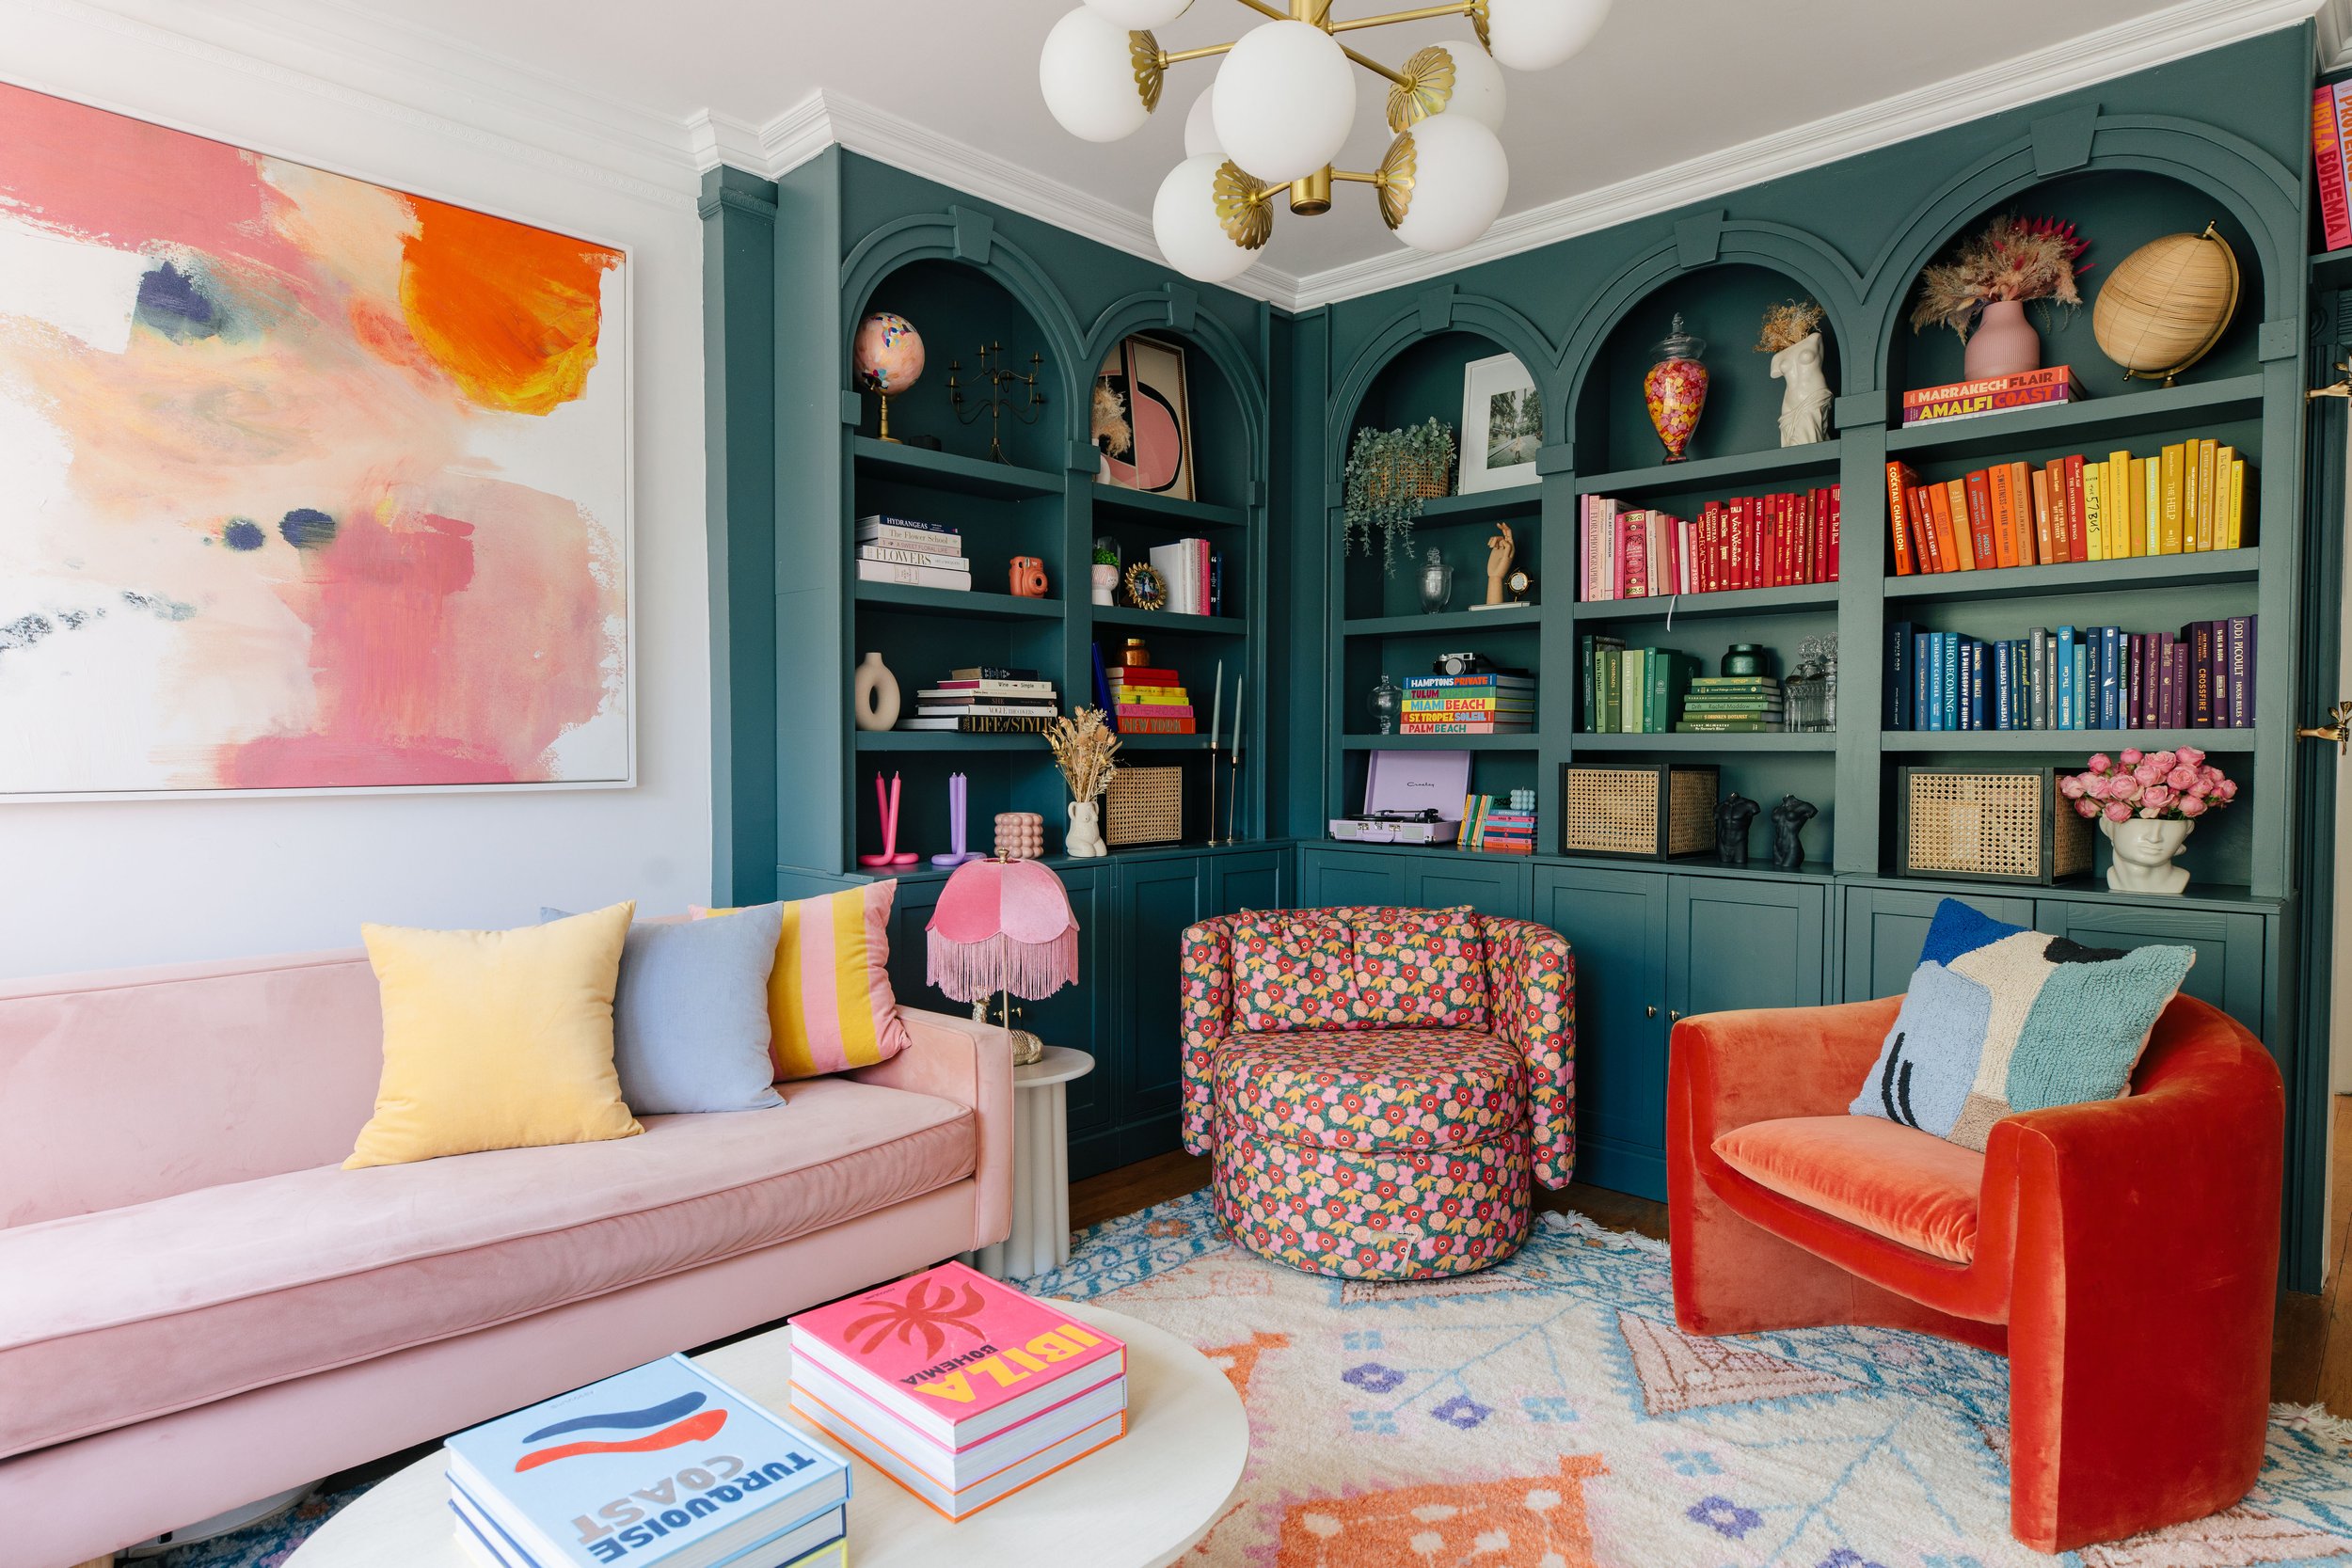
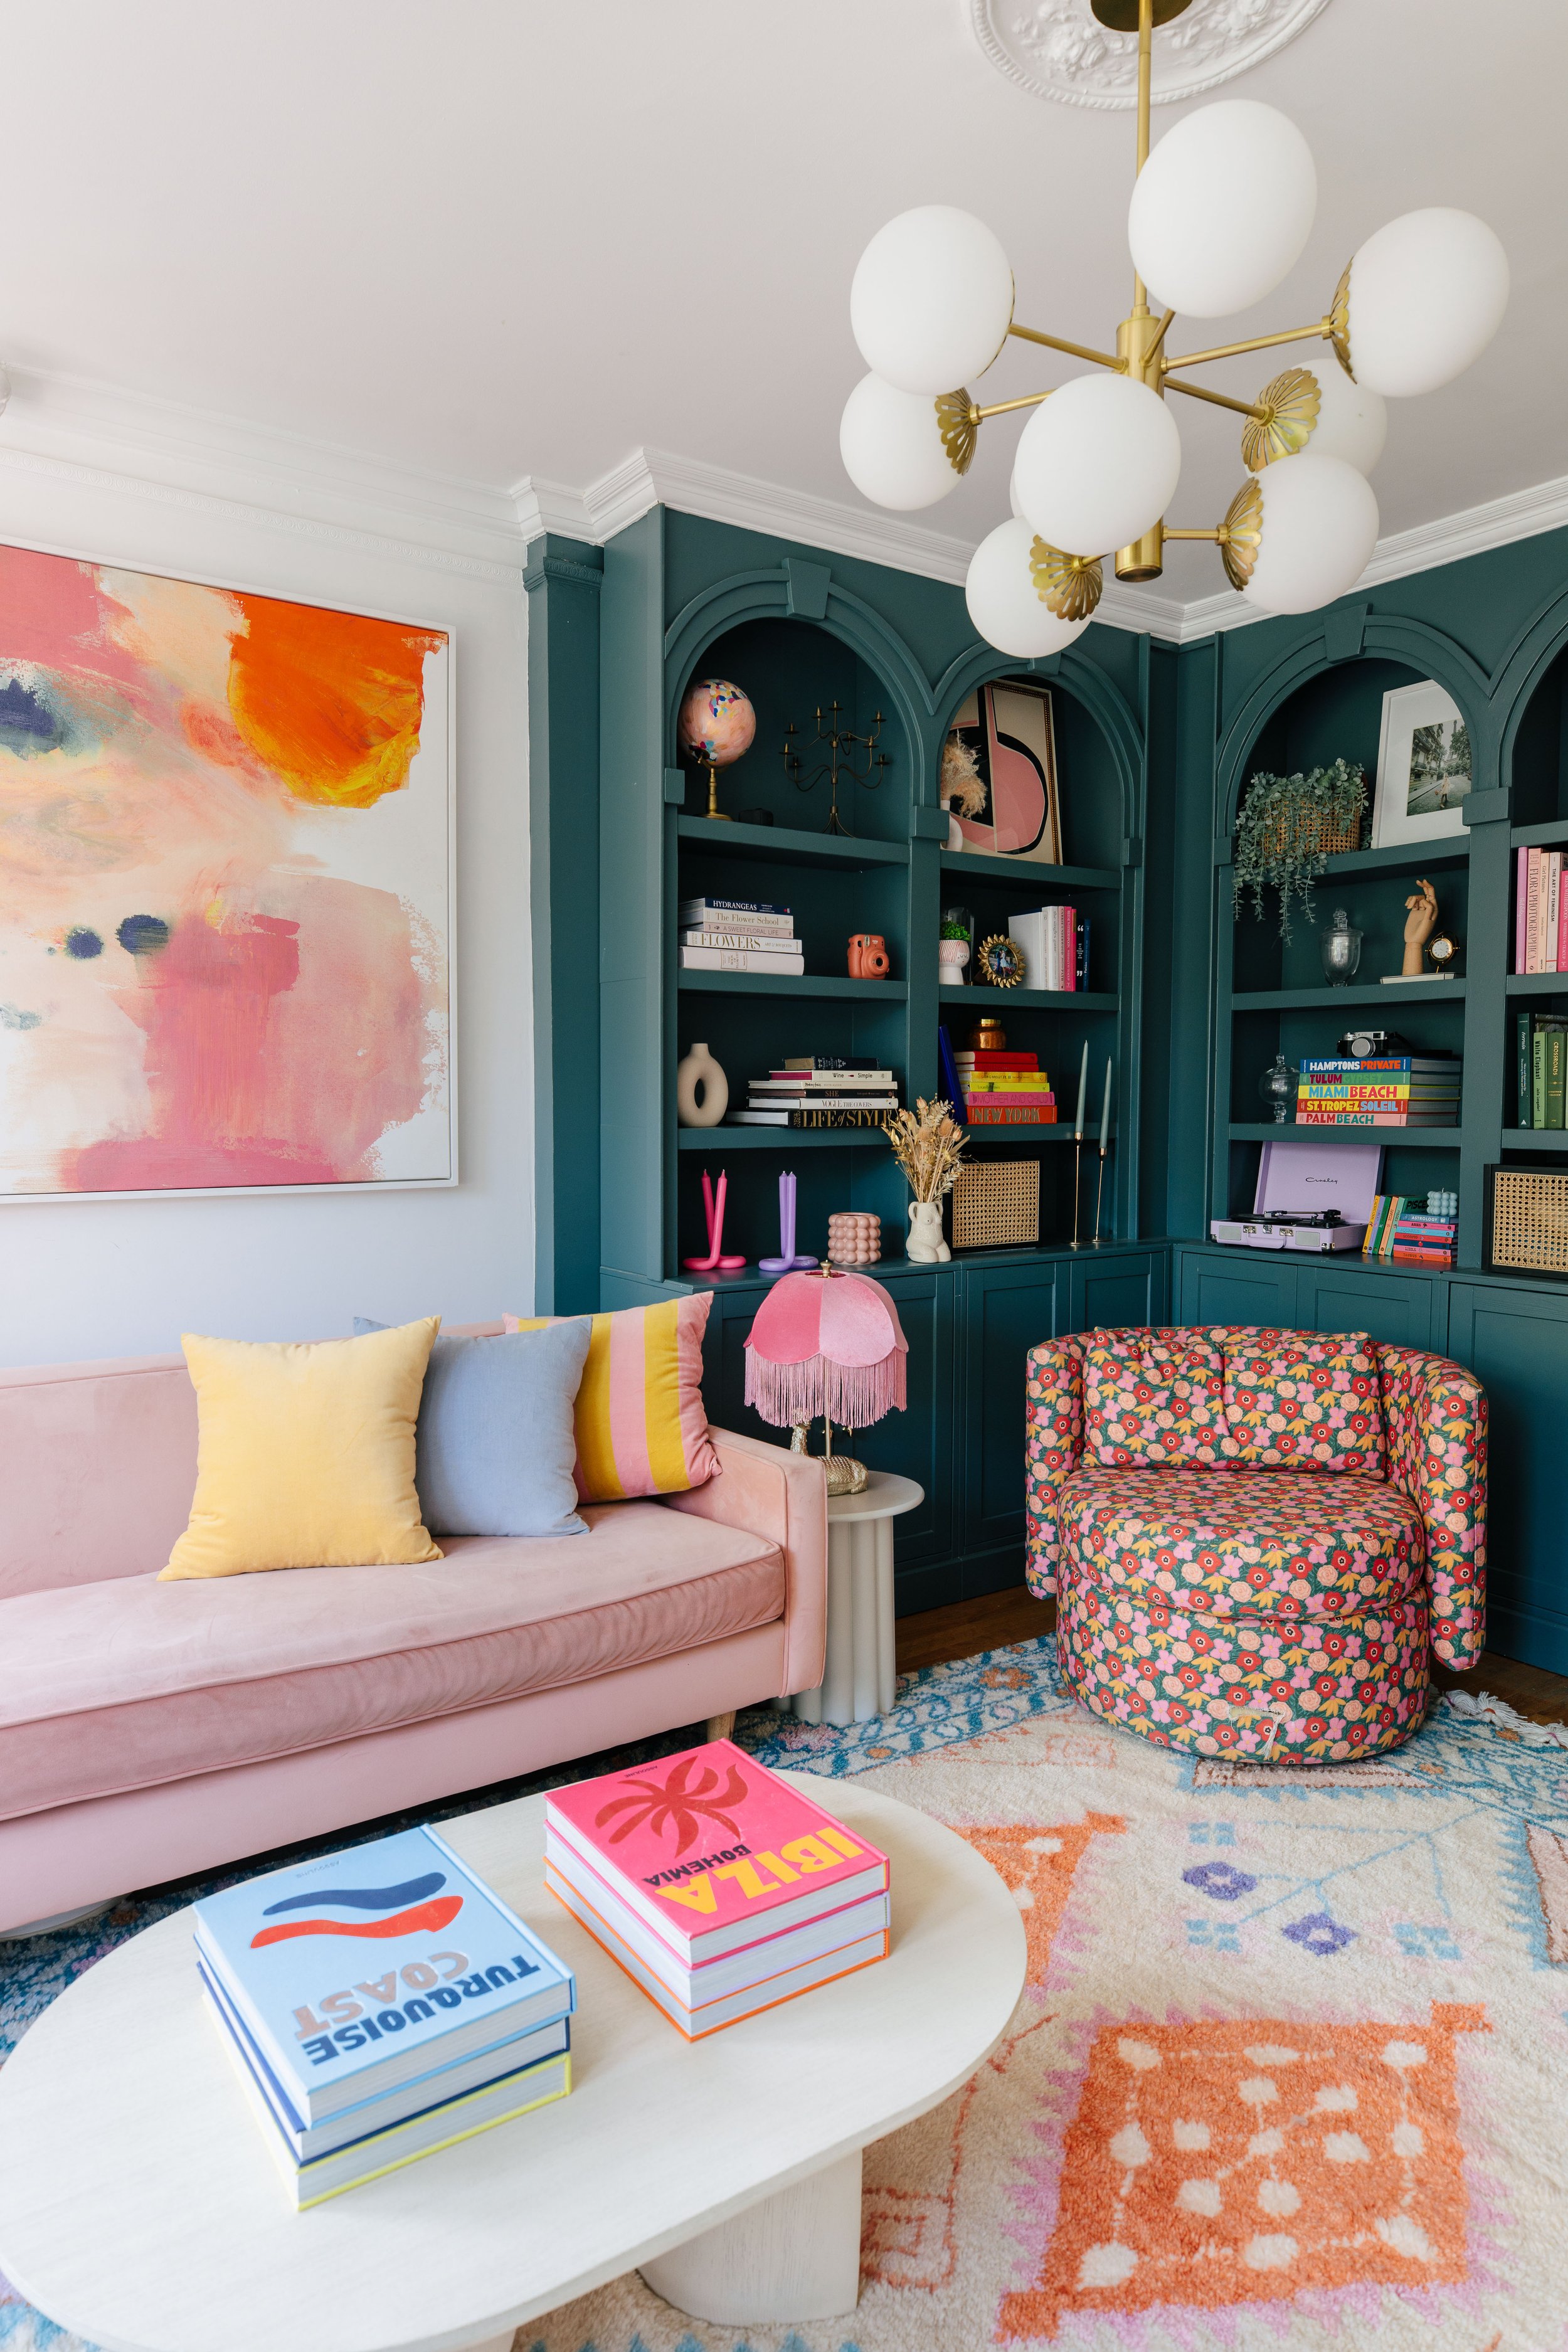
There's something truly magical about a cozy reading nook framed by an elegant, arched bookshelf brimming with tales and treasures. It’s the kind of home project that not only adds immense character to your space but also whispers stories of creativity and personal touch. Today, we're diving into an IKEA hack that will guide you through creating your very own built-in L-shaped bookcase, featuring the timeless beauty of arches, all achieved with the simplicity and affordability of IKEA's Billy bookcases and Havsta cabinets.
For this project, we selected 6 Billy bookcases and 6 Billy extensions, complemented by Havsta cabinets. This combination not only promises ample storage but also ensures the durability and functionality IKEA is known for.
The color? A mesmerizing shade named "Backdrop Saturday on Saturday" - a dark blue-gray with a subtle hint of green that adds depth and sophistication to any room. It’s a color that sings the songs of serene, rainy Saturdays, perfect for curling up with a good book.
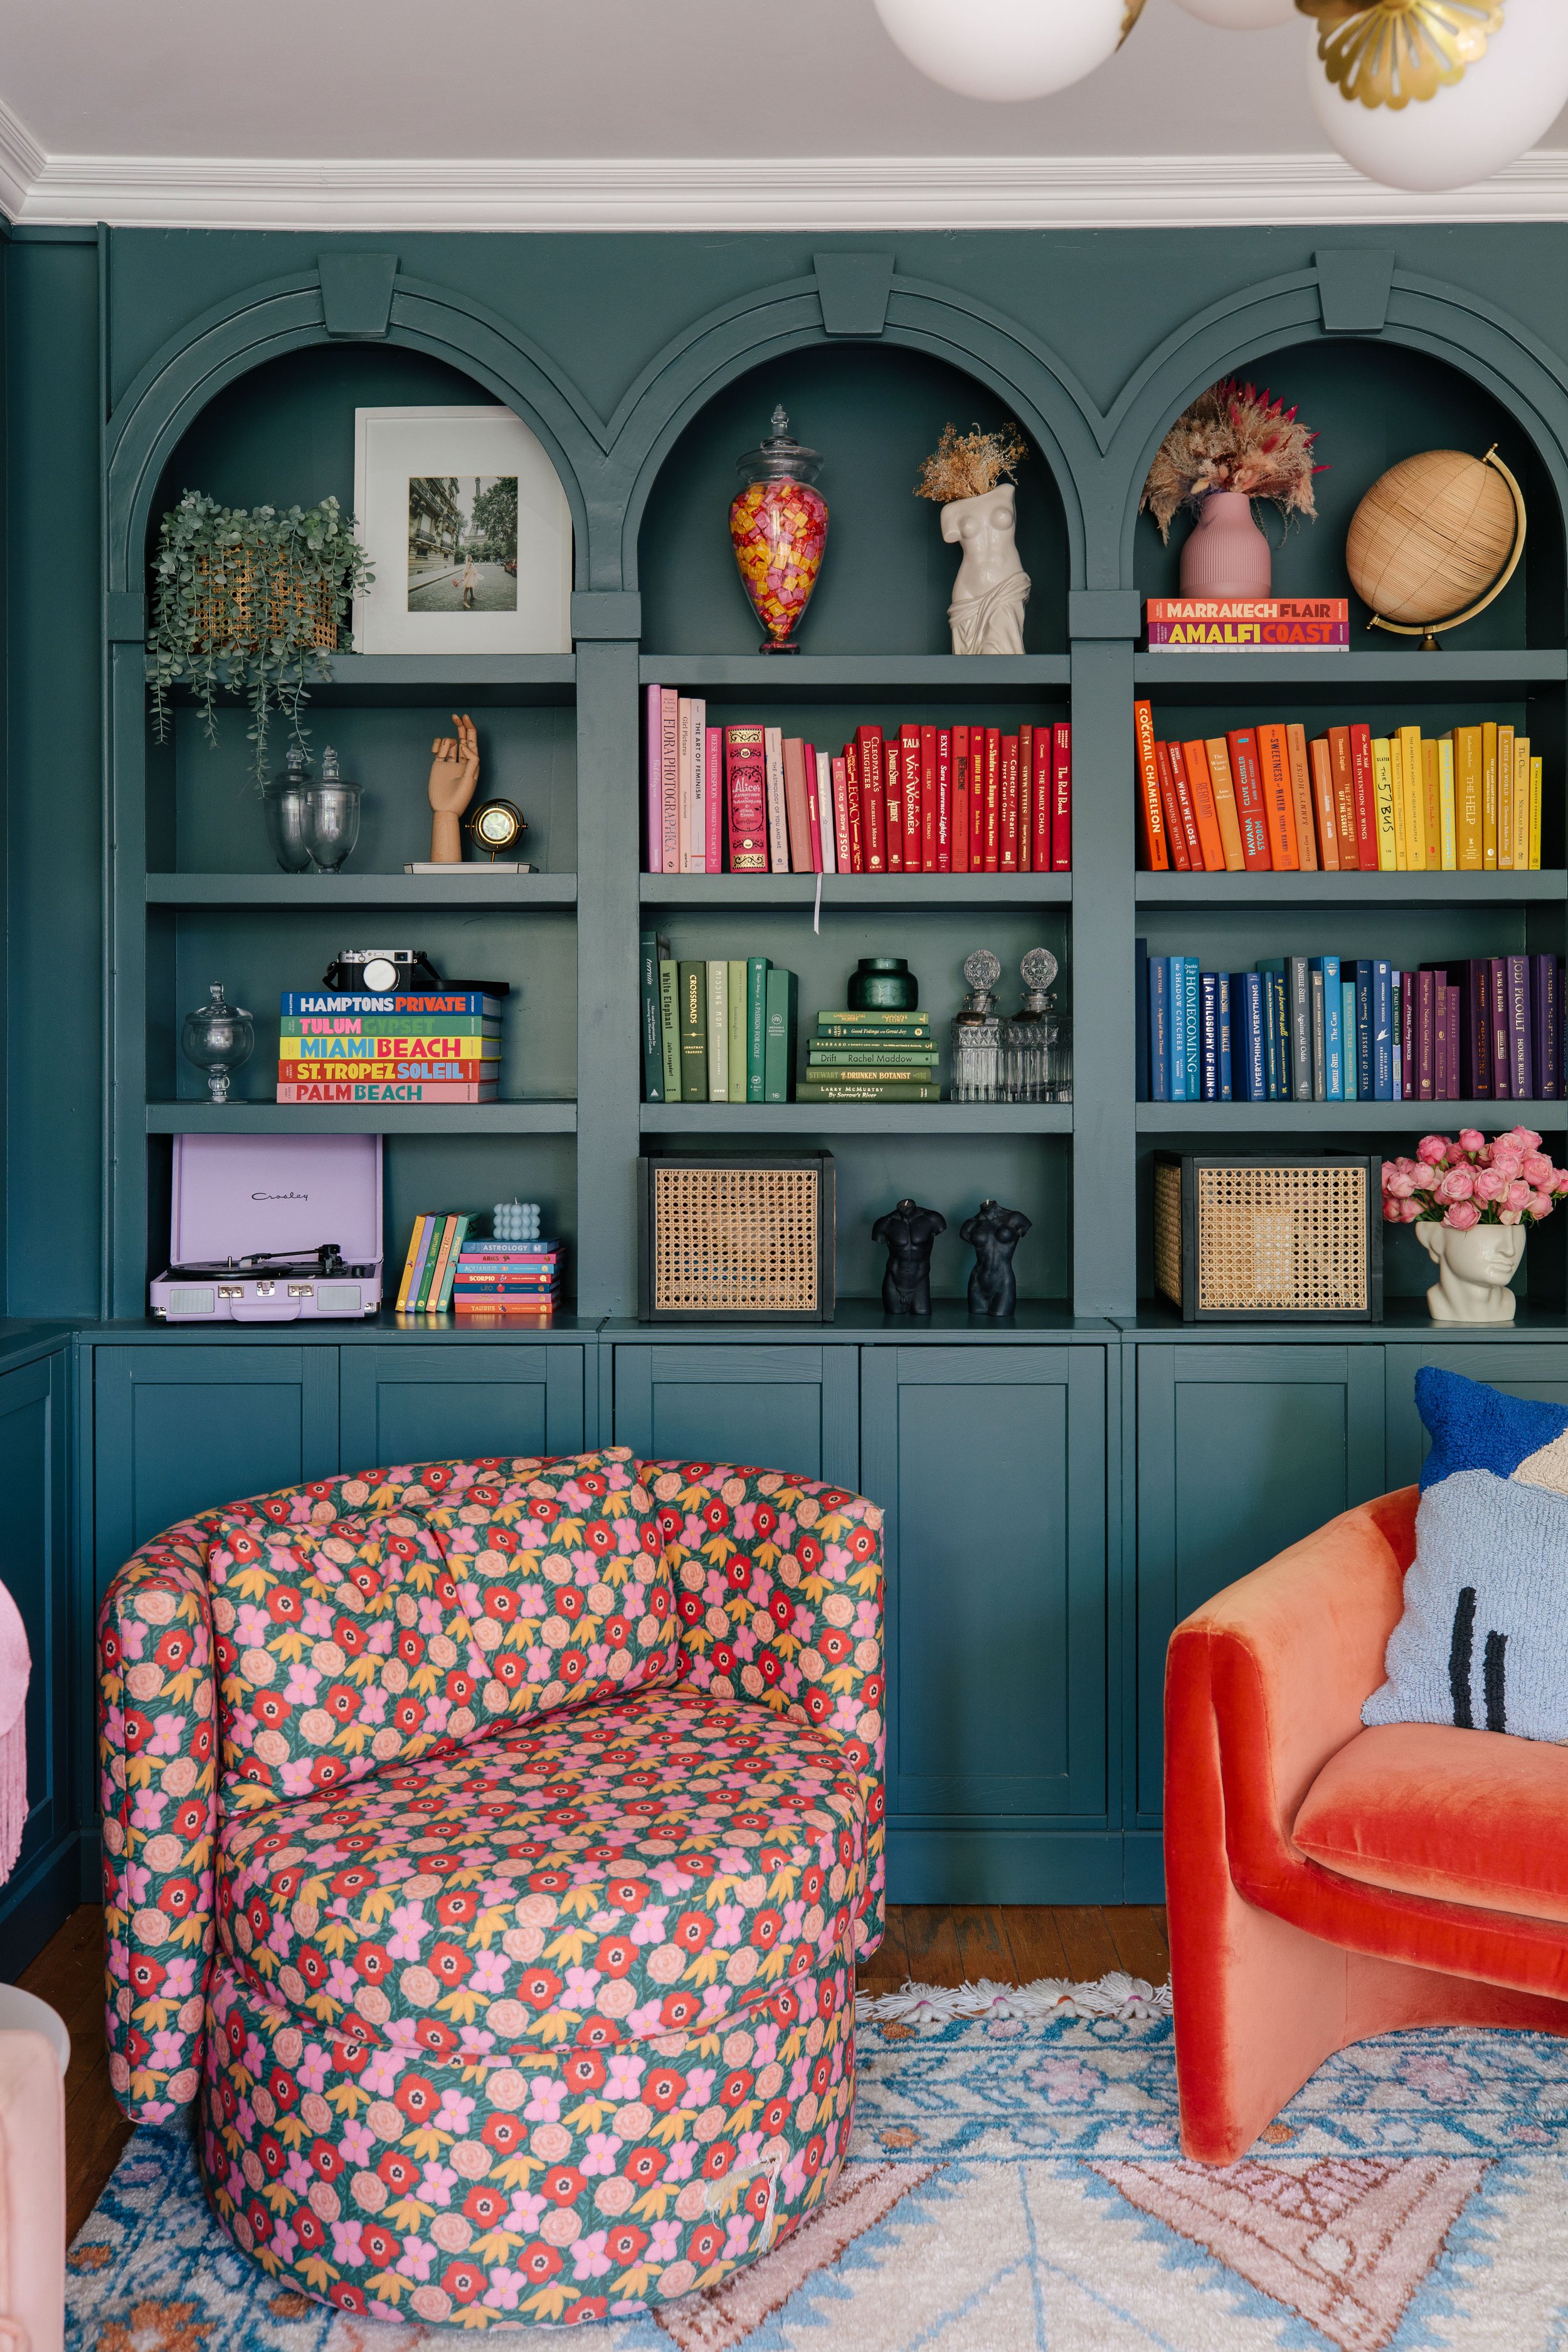
The arches are the soul of this project, adding a touch of elegance and architectural interest. Using plywood, we crafted the arches, ensuring they seamlessly blend with the overall design. This step might require a bit of patience and precision, but it's worth every moment when you see the transformation unfold.
To achieve the coveted built-in look that makes the bookcase appear as a natural part of the room, we added trim around the edges. This small detail makes a significant impact, elevating the entire project from a simple piece of furniture to a bespoke feature of your home.
Step-by-Step Guide to Your DIY Arched Bookcase
What You’ll Need:
* 6 Billy bookcases
* 6 Billy bookcase extensions
* Havsta cabinets (quantity based on your space and design preference)
* Plywood for arches
* Trim for a built-in look
* Paint (Backdrop Saturday on Saturday or your chosen color)
* Basic tools (screwdriver, saw, hammer, nails, paintbrush, etc.)
The Process:
1. Assembly: Start by assembling your Billy bookcases and Havsta cabinets according to IKEA’s instructions. Remember, this is the foundation of your project, so take your time to ensure everything is sturdy and aligned.
2. Designing Arches: Measure and cut your plywood to create the arches. This step allows for creativity – decide how tall and wide you want your arches to be based on the look you're going for.
3. Painting: Once your arches are ready, it’s time to paint. "Backdrop Saturday on Saturday" is our choice for its calming and sophisticated vibe, but feel free to choose a color that matches your decor. Paint your bookcases, extensions, cabinets, and arches. You might need a few coats to achieve the desired depth of color.
4. Installation: Secure the bookcases and cabinets in your desired L-shape configuration. Attach the arches to the top of the bookcases, ensuring they're evenly spaced and securely fixed.
5. Adding Trim: The final step is adding trim around the edges of the bookcases and where they meet the wall. This not only gives it a built-in appearance but also covers any gaps, creating a seamless look.
6. Styling: Now, the fun part! Start styling your new bookcase with books, plants, art, and anything else that speaks to you. This is your chance to personalize your space and make it truly yours.
This IKEA hack for an arched bookshelf is more than just a DIY project; it’s a labor of love that brings warmth, style, and functionality to your home. It proves that with a bit of creativity and effort, you can transform everyday items into something extraordinary.
We’d love to see how your arched bookcase turns out! Share your creations and styling tips with us. Remember, every bookcase tells a story, and we can’t wait to hear yours. Happy DIY-ing!


